Part 3 – PostProcessing & Output for Fine Art Macro Prints
Color Management and RAW Workflow
For museum quality macro photography, start with a disciplined RAW processing workflow:
- Shoot in RAW to preserve maximum color depth and dynamic range.
- Calibrate your monitor and work in a wide gamut color space (Adobe RGB or ProPhoto RGB) for print-focused editing.
- Use custom camera profiles or color checker targets for accurate color reproduction, especially for scientific or botanical macro work.
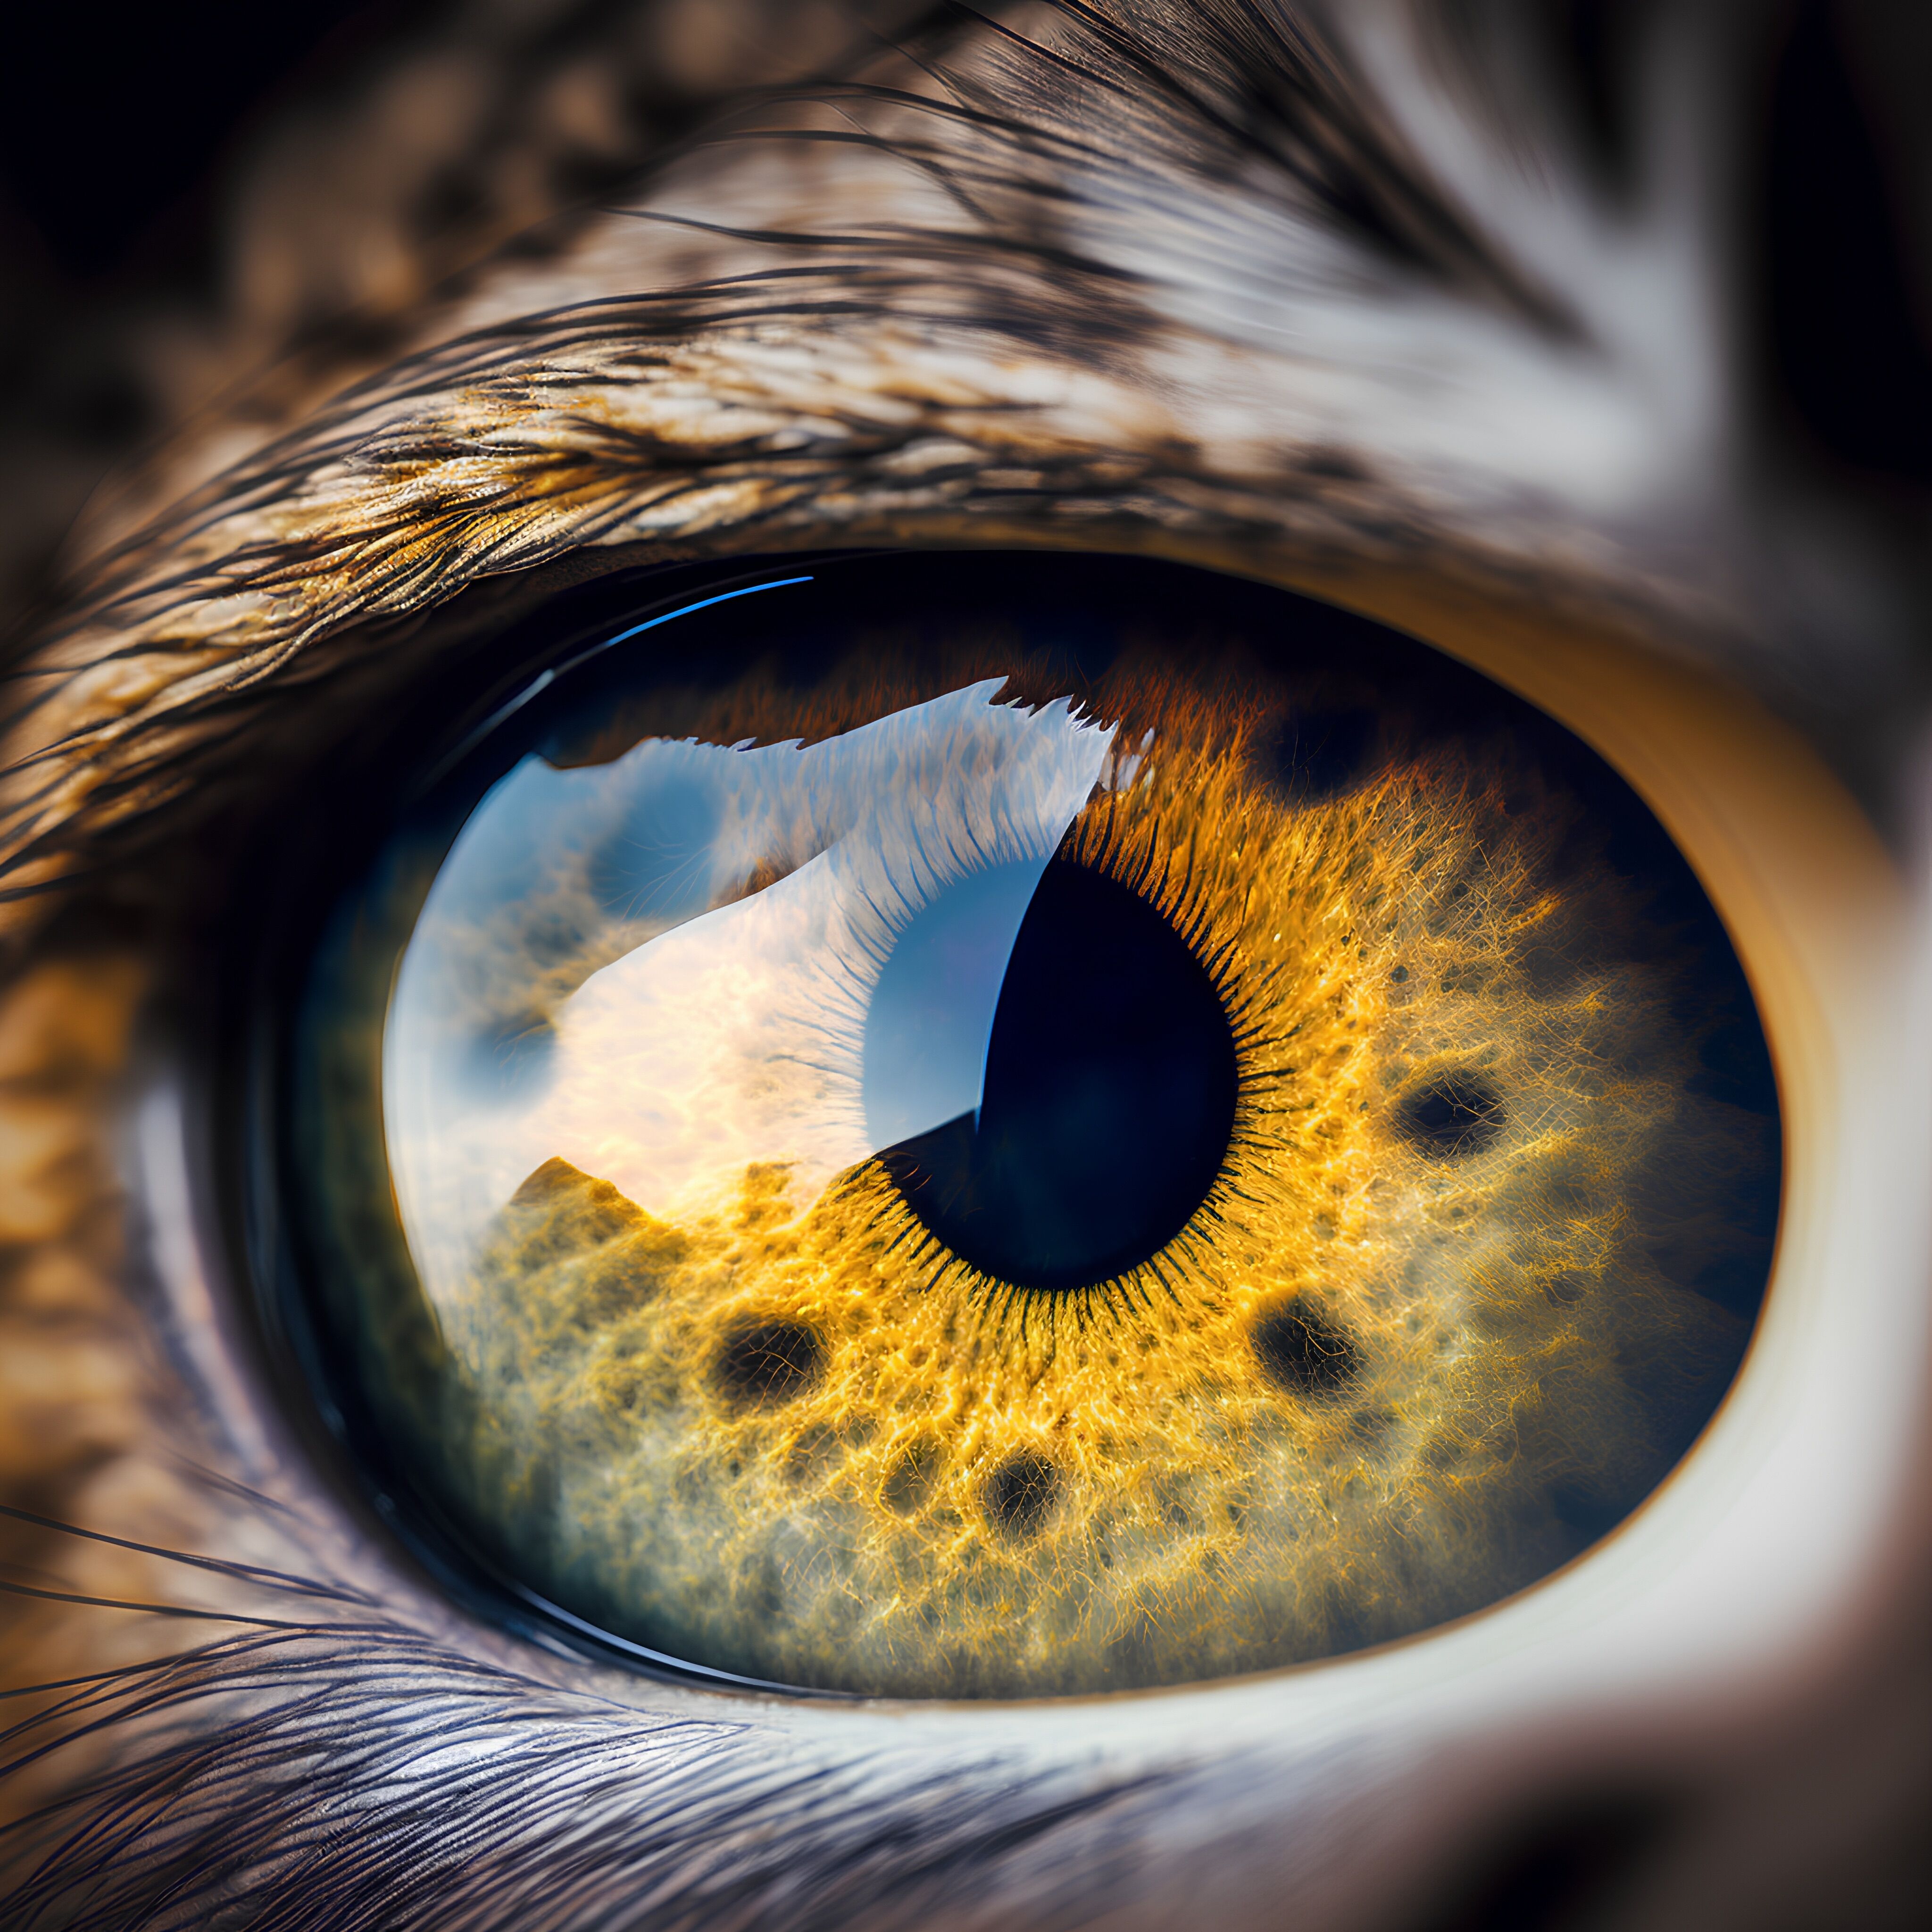
Eye of a cat close-up. Macro shot. Selective focus.
Initial RAW Adjustments
In Lightroom, Capture One, or similar software:
- White balance – Neutralize color casts while preserving mood; fine tune using temperature and tint.
- Exposure & contrast – Adjust global exposure, then refine highlights and shadows to keep important texture.
- Clarity / texture / dehaze – Use carefully to enhance micro contrast without creating halos in delicate details.
- Lens corrections – Apply chromatic aberration removal and distortion correction, especially for high contrast edges.
Advanced Focus Stack Blending
When you have shot a focus stack:
- Export the selected RAW files as 16bit TIFFs with identical basic corrections.
- Import into stacking software (Helicon Focus, Zerene Stacker, or Photoshop).
- Test multiple stacking methods (e.g., depthmap vs. weighted average) to see which best preserves fine structure.
- Retouch halos or blend issues using the software’s retouching brush or by manually masking layers in Photoshop.
MicroContrast, Sharpening, and Noise Reduction
To create fine art macro prints that hold up at large sizes:
- Sharpening
- Apply input sharpening lightly during RAW conversion.
- Use targeted, mask based sharpening in Photoshop or Lightroom to emphasize key details (like insect eyes, textures, or edges) while protecting smooth backgrounds.
- Always view sharpening at 100% and soft proof for your intended print size.
- Noise reduction
- Keep ISO low to minimize noise at capture.
- Apply luminance noise reduction gently; preserve detail in textured areas like wings, petals, or minerals.
- Use selective noise reduction layers on smooth backgrounds to keep them clean and gradient rich.
Preparing Macro Images for GalleryQuality Prints
For Michael Smith Fine Art Photography, the end goal is often a large, archival print:
- Output resolution – Aim for 240–360 ppi at final print size for optimal detail reproduction.
- Soft proofing – Simulate your printer/paper profile to anticipate shifts in contrast and color.
- Gamut mapping – Adjust overly saturated tones that fall outside the paper’s gamut; tweak HSL to maintain the subject’s natural character.
- Local dodging and burning – Subtly guide the viewer’s eye with tonal refinements; enhance form and depth without making the image look artificial.
Archival Printing and Presentation
For collectors, galleries, and high end interiors:
- Use archival fine art papers – Cotton rag, baryta, or textured watercolor papers for a tactile, premium feel.
- Pigment based inks – Long lasting, fade-resistant, ideal for fine art macro photography collections.
- Limited editions – Numbered, signed editions increase perceived value and exclusivity.
- Professional framing – UV protective glass or acrylic, acid free mats, and gallery grade mounts preserve both artwork and color integrity.
Elevating Macro Photography to Fine Art
Macro photography is more than closeup documentation, it is a way to reveal hidden structures, abstract patterns, and intimate details that normally go unseen. When executed with technical precision and artistic intention, macro images can become powerful fine art prints suitable for galleries, luxury interiors, and serious collectors.
On the Michael Smith Fine Art Photography blog, future posts will dive deeper into:
- Extreme macro setups beyond 3:1 magnification
- Lighting blueprints for complex reflective subjects
- Building a cohesive fine art macro series for exhibition
- Printing and curating macro photography for interior design projects
If you are enthusiastic about highly technical macro photography and want your work to reach professional, gallery quality standards, refining your gear, technique, and post processing workflow is the path to truly exceptional images.