
Preparing for a Yosemite National Park Photography Trip
Planning a dedicated photography trip to Yosemite National Park is one of the best investments you can make as a landscape photographer. With its towering granite cliffs, thundering waterfalls, alpine meadows, and ever-changing light, Yosemite is a world-class location for creating dramatic fine art landscape photography.
Below is a practical guide, from a professional photographer’s perspective, on how to prepare for a productive Yosemite photography adventure: what gear to bring, permits to consider, the best time of year and best shooting times, and how to set yourself up for success in the field.
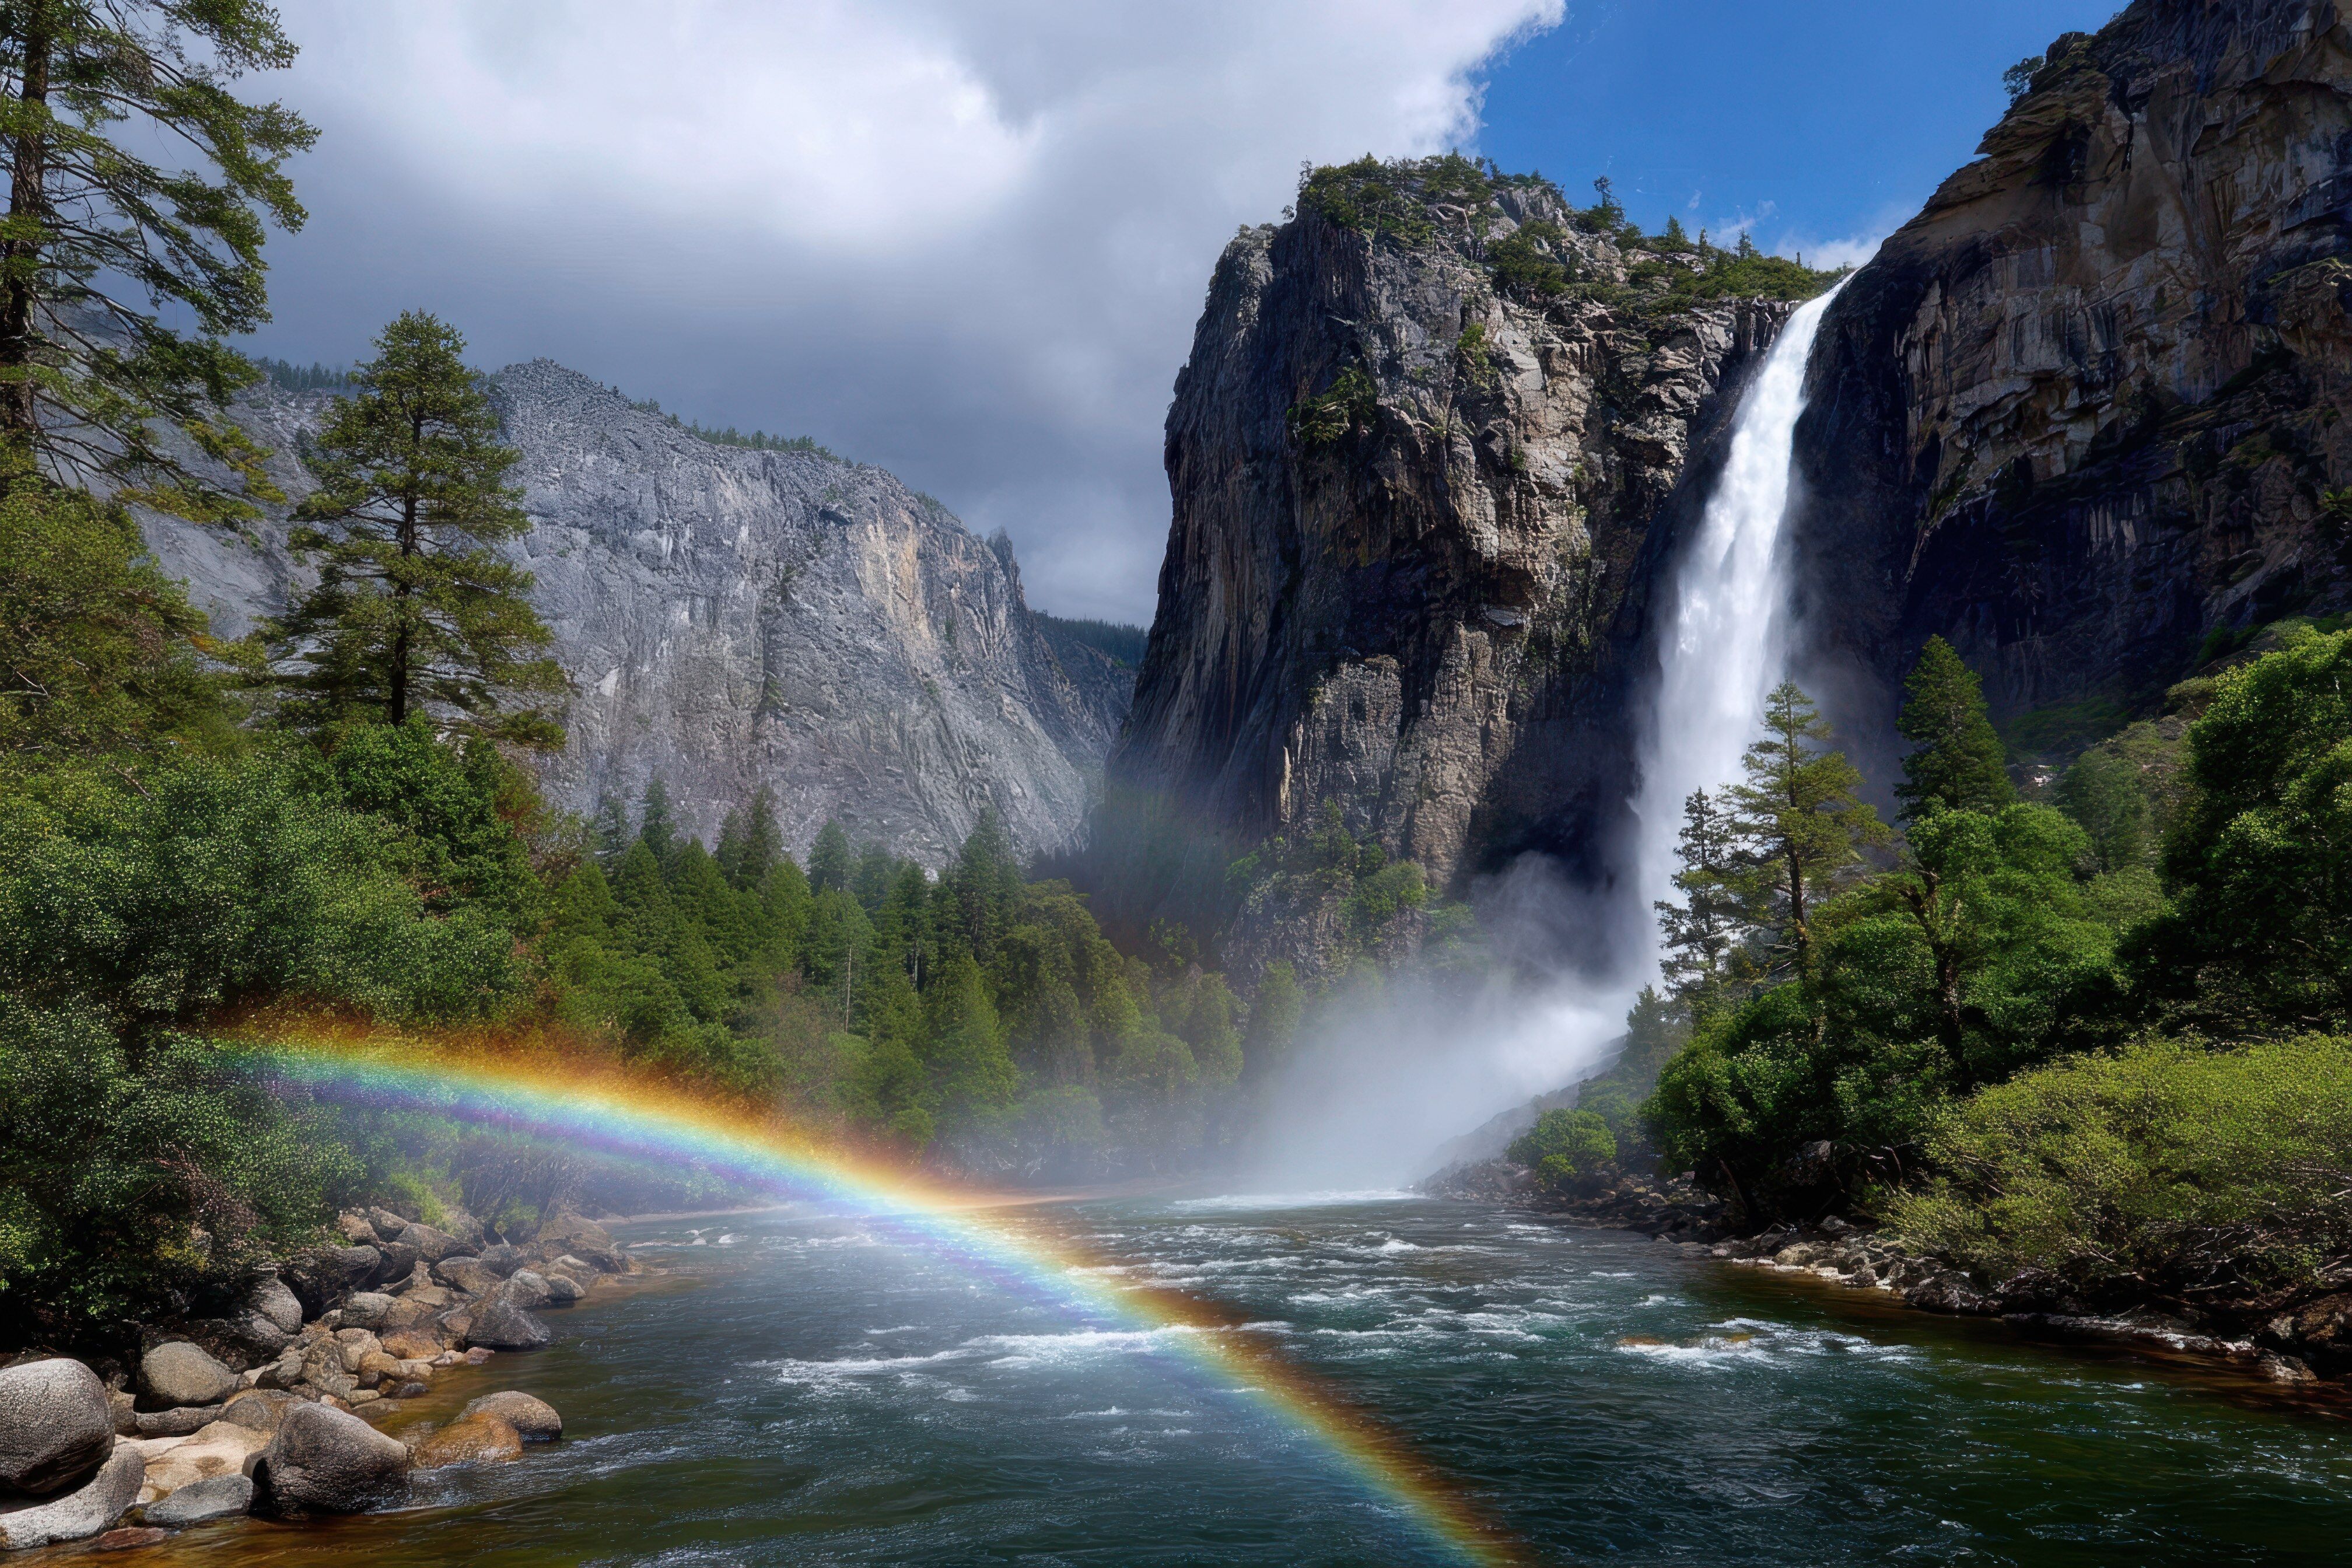
A majestic waterfall flows down rocky cliffs, creating mist with a rainbow arcing over a river surrounded by lush trees.
1. Choosing the Best Time of Year for Photography in Yosemite
Yosemite looks completely different with each season. Your fine art photography goals should shape when you visit.
Spring (April–June): Waterfalls and Fresh Greenery
- Why go: Peak waterfalls, lush meadows, snow still on the high peaks.
- Photo opportunities:
- Yosemite Falls, Bridalveil Fall, Vernal and Nevada Falls at high flow.
- Reflections in the Merced River with vibrant spring greens.
- Considerations:
- Some higher elevation roads (like Tioga Road) may still be closed early in the season.
- Pack rain protection for you and your camera gear.
Summer (July–August): Access and High-Country Vistas
- Why go: long days, access to high country and alpine lakes.
- Photo opportunities:
- Glacier Point, Taft Point, and Sentinel Dome for sunrise and sunset.
- Milky Way and night sky photography away from valley lights.
- Considerations:
- Midday lights are harsh, plan for dawn, dusk, and night.
- Crowds are heavy—advance lodging and entry reservations may be required.
Fall (September–October): Atmosphere and Color
- Why go: Softer light, fewer visitors, subtle fall color.
- Photo opportunities:
- Yellow aspens and warm color along the Merced River and valley meadows.
- Clear atmosphere for long lens views of the granite walls.
- Considerations:
- Waterfalls are reduced, but low water can mean clearer reflections.
Winter (November–March): Minimalist and Dramatic Scenes
- Why go: Snow-covered cliffs, fog, and minimalist winter compositions.
- Photo opportunities:
- Snow on El Capitan, Half Dome, and Cathedral Rocks.
- Frosted trees, icy rivers, and dramatic storm clouds.
- Considerations:
- Short days and cold temperatures.
- Chains or winter traction devices may be needed; some roads are closed.
2. Best Shooting Times: Light, Weather, and Productivity
As with any serious landscape work, your most productive photography in Yosemite will happen when the light is at its best.
Sunrise
- Why it is worth it: Soft, directional light and fewer people.
- Great sunrise locations:
- Tunnel View – classic Yosemite Valley sunrise with layers of cliffs and shifting fog.
- Glacier Point – first light on Half Dome and the High Sierra (seasonal access).
- Cook’s Meadow & Sentinel Bridge – Half Dome glowing with river reflections.
Sunset
- Why it is powerful: Warm light and alpenglow on granite walls.
- Great sunset locations:
- Valley View – Merced River foreground with glowing cliffs at day’s end.
- Tunnel View – evening light on Bridalveil Fall and El Capitan.
- Taft Point / Glacier Point area – expansive views with dramatic skies.
Blue Hour & Night
- Why include it: Deep, moody color and night sky photography.
- Opportunities:
- Long exposures of the Merced River or waterfalls.
- Milky Way and star photography in summer from the high country.
Between these peak times, scout new compositions, hike to your next location, and rest. This rhythm keeps your Yosemite photography trip both productive and sustainable.
3. Essential Camera Gear for a Yosemite Photography Trip
Think in terms of flexibility, reliability, and image quality you will be proud to print as fine art wall art.
Camera Bodies
- Primary camera: A full frame or high-resolution mirrorless/DSLR is ideal for fine art prints.
- Backup body: If possible, bring a second camera body; Yosemite is not the place to lose a trip to gear failure.
Lenses
- Ultrawide zoom (e.g., 14–24mm, 15–35mm)
- For sweeping valley views from Tunnel View, Glacier Point, and meadow foregrounds.
- Standard zoom (e.g., 24–70mm)
- A workhorse for waterfalls, midrange landscapes, and general scenes.
- Telephoto zoom (e.g., 70–200mm or 100–400mm)
- For isolating details on granite cliffs, compressed layers of ridges, and distant peaks.
This three lens kit covers everything you will want for Yosemite National Park landscape photography.
Tripod and Stabilization
- Sturdy tripod: Essential for sunrise/sunset, long exposures, and fine art quality sharpness.
- Carbon fiber is ideal (strong but lighter for hiking).
- Remote shutter release or two sec timer: Prevents vibrations during long exposures.
Filters
- Circular polarizer
- Reduces glare on wet rock and water, deepens sky, and saturates foliage.
- Neutral density (ND) filters
- For silky water in waterfalls and rivers during brighter conditions.
- Graduated ND or digital blending
- To manage contrast between bright skies and dark valley floors.
Storage & Power
- Multiple high capacity memory cards (better than one large card).
- 4–5 camera batteries, depending on season (cold drains batteries fast).
- Compact battery charger and, if camping, a portable power bank or solar charger.
4. Outdoor & Safety Gear: Protect Yourself and Your Equipment
Professional results come from consistency—staying comfortable and safe so you can keep shooting.
Clothing
- Layered system: Base layer, insulating mid layer, and waterproof shell.
- Season-specific essentials:
- Winter: warm hat, gloves (one pair thin enough to operate a camera), insulated boots.
- Summer: breathable protective clothing, hat, sunglasses.
Footwear
- Waterproof hiking boots with good traction.
- Wool or synthetic socks; avoid cotton.
Weather Protection for Gear
- Rain covers for your backpack and/or dedicated camera rain sleeves.
- Microfiber cloths to wipe spray from waterfalls and fogged lenses.
- Dry bags or sealed pouches if you shoot near water.
Navigation & Safety
- Map or offline app (cell service is limited).
- Headlamp with extra batteries (early starts and late finishes).
- Basic first aid kit, water purification, and enough water/food for long days.
5. Permits, Park Regulations, and Logistics for Photographers
Yosemite is a popular national park, and planning keeps your photography trip smooth and focused.
Park Entry and Reservations
- Entrance fee or park pass: America the Beautiful pass is ideal if you visit multiple parks.
- Timed entry / day-use reservations: At busy times, Yosemite may require reservations—check the NPS website well in advance.
Commercial Use & Workshops
- If you are leading workshops, selling services onsite, or doing commercial photography, additional permits may be required. Consult Yosemite National Park’s official regulations for the latest details.
Drones
- Drones are prohibited in Yosemite National Park. Plan your aerial style compositions from high vantage points like Glacier Point and Taft Point instead.
Parking and Shuttle
- Parking can fill early in peak season. Build in time to walk or use shuttles, especially at sunrise and sunset.
6. Field Workflow: Making the Trip Truly Productive
From a professional photographer’s eye, productivity is about coming home with strong, consistent work you will be proud to share and print.
Scout and PreVisualize.
- Before your trip, study:
- Map locations: Tunnel View, Glacier Point, Valley View, Cook’s Meadow, Taft Point, El Capitan Meadow.
- Sun position and timing with apps.
- On arrival, use midday to walk to key locations and plan specific sunrise/sunset shots.
Shoot Intentionally
- Arrive at least 30–60 minutes before sunrise/sunset to:
- Claim a good vantage point.
- Evaluate compositions and refine foreground elements.
- Work each scene thoroughly: vertical and horizontal frames, different focal lengths, and exposure brackets for high contrast scenes.
Backup Every Day
- Each evening, back up your images to at least one external drive or laptop.
- If possible, keep cards unformatted until you have two copies.
Think in Terms of Fine Art Prints
- Compose and expose with printing in mind:
- Avoid blown highlights in the granite and sky.
- Use low ISO whenever possible for maximum detail. I like ISO 64.
- Watch the edges of the frame for distractions that will be obvious in large wall art.
7. Bringing Yosemite Home: From Capture to Fine Art Print
Once the trip is over, the fine artwork begins in the digital darkroom.
- Curate ruthlessly: Select images that express a clear mood—stormy drama over El Capitan, soft light on Half Dome, quiet reflections in the Merced River.
- Refine carefully:
- Balance contrast and color to echo what you felt on location.
- Preserve natural detail in rock faces, trees, and clouds.
- Print with intention:
- Choose media—fine art paper, acrylic, metal, or canvas—that matches the character of each image.
- Prepare files at high resolution for large format wall art.
For collectors visiting Michael Smith Fine Art Photography, this level of planning and care is what transforms a Yosemite National Park photograph from a simple memory into a museum quality fine art print.