Part 2 – Macro Advanced Capture Techniques for Extreme Detail
Mastering Depth of Field at High Magnification
At macro distances, depth of field becomes millimeters thin. Even at f/16, only a narrow slice of your subject may be in critical focus.
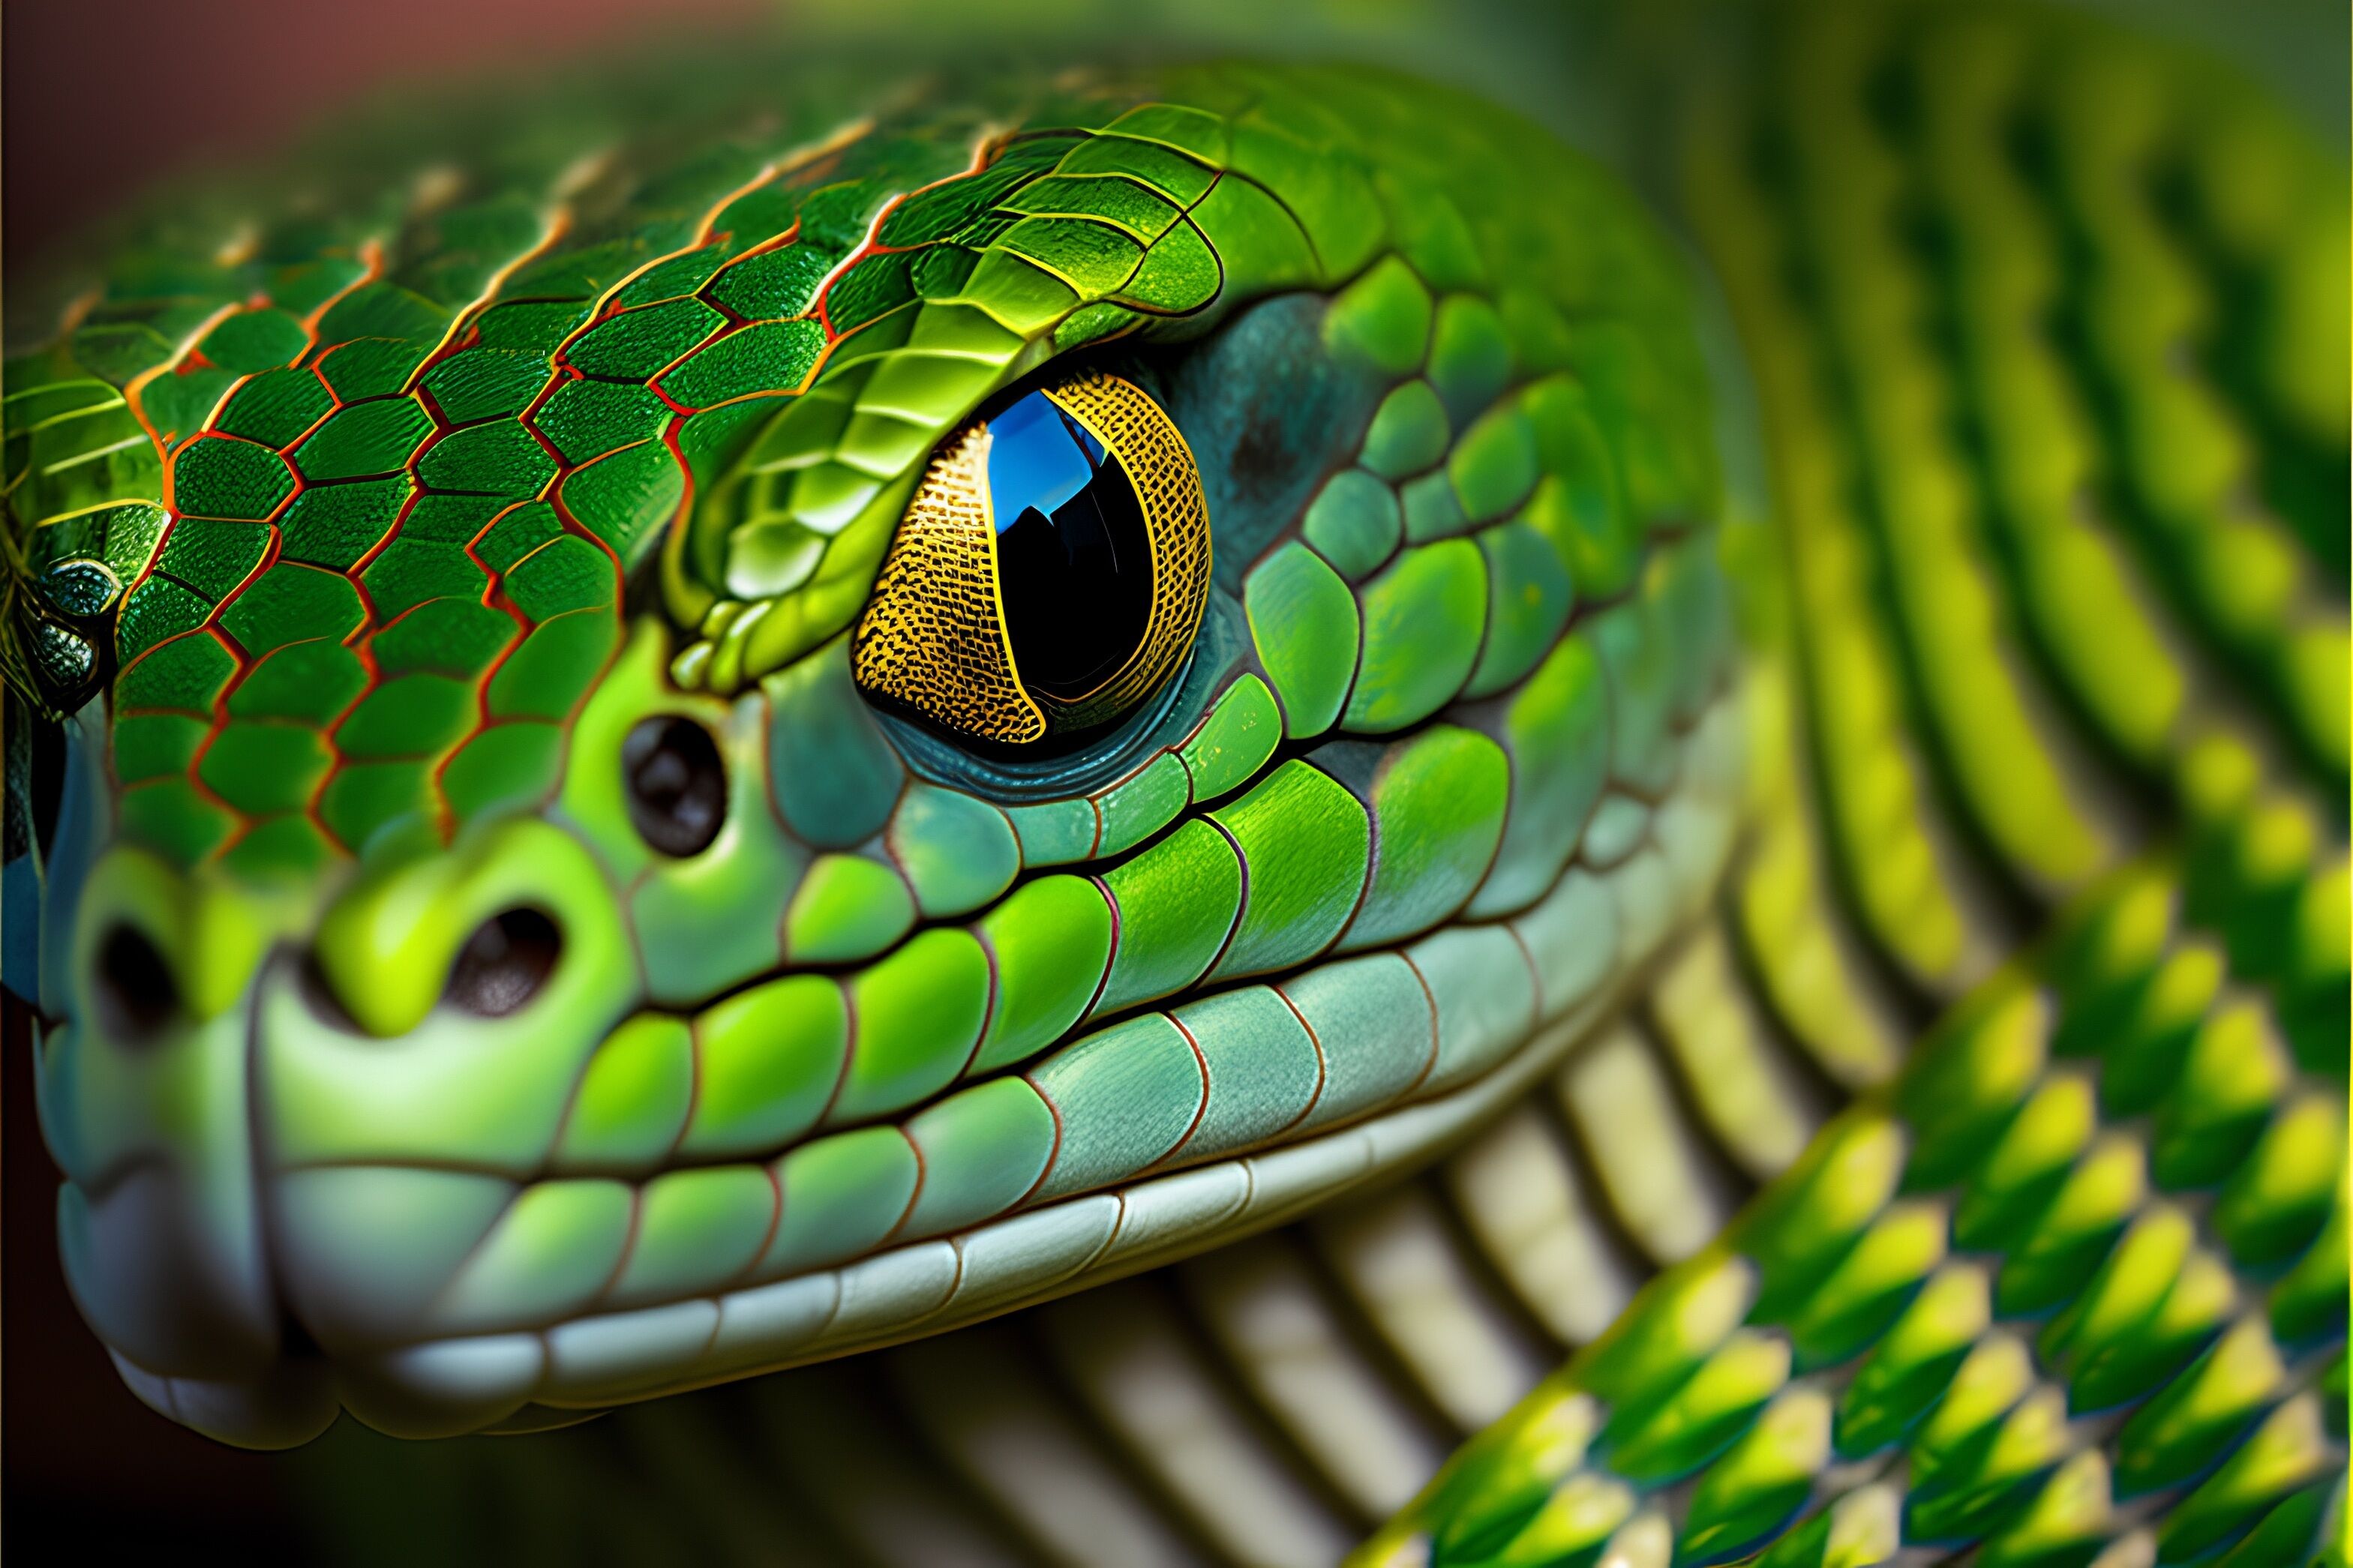
Close-up of the eye of a green pit viper.
Key principles:
- Aperture selection
- f/2.8–f/5.6: Extremely shallow DOF, creative bokeh, selective focus.
- f/8–f/11: Balance between sharpness and diffraction; ideal for single shot macro when possible.
- f/16–f/22: Maximum DOF in a single frame but increasing diffraction softens fine details.
- Diffraction awareness
- On high resolution sensors, diffraction becomes visible at smaller apertures (e.g., f/11–f/16).
- For gallery quality prints, it is often better to shoot at the lens’s sharpest aperture (f/5.6–f/8) and use focus stacking rather than stopping down excessively.
Precision Focusing Techniques
Autofocus often struggles at extreme magnifications. For fine art macro photography, manual precision is key:
- Use live view with maximum magnification to check micro contrast and edge detail.
- Focus by moving the camera, not the focus ring, once you are near optimum focus—this is where a high quality focusing rail shines.
- Rocking technique for handheld macro: gently move your body forward/backward and fire in short bursts as the critical plane passes through your subject’s key features (e.g., insect eyes).
Exposure Settings for Clean, NoiseFree Macro Images
For professional macro art prints, exposure discipline matters:
- Low ISO (ISO 64–200) whenever possible to maximize detail and dynamic range.
- Shutter speed fast enough to freeze movement (of both subject and camera), especially outdoors:
- Start at 1/125–1/250s for static subjects with flash.
- 1/500s or faster for live insects in natural light.
- Use histograms.
- Avoid clipping highlights, especially on reflective surfaces like dew, wings, or metallic textures.
- Slightly expose to the right (ETTR) for clean shadows, then refine during post processing.
Focus Stacking for Maximum Sharpness
Focus stacking is the cornerstone of ultra sharp macro photography suitable for large fine art prints.
Workflow:
- Lock camera and composition on a stable tripod.
- Set manual exposure (consistent shutter, aperture, ISO).
- Manual focus at the nearest critical point of the subject.
- Use a focusing rail (or small focus ring increments) to move gradually through the subject toward the farthest point.
- Capture a sequence of images with overlapping depth of field (often 10–100+ frames at high magnification).
- Blend the images in dedicated focus stacking software (e.g., Helicon Focus, Zerene Stacker, or Photoshop).
Technical tips:
- Keep aperture around f/5.6–f/8 to minimize diffraction and maximize per-frame sharpness.
- Maintain consistent lighting and white balance across the stack.
- Watch for subject movement—live insects or flowers in the wind may require shorter stacks or controlled environments.
Controlling Backgrounds and Reflections
Highend macro photography emphasizes both subject and environment:
- Background control
- Position distant, uniform backgrounds for smooth bokeh.
- Use colored cards, printed textures, or natural foliage placed far behind the subject.
- A longer focal length macro lens helps isolate the subject and compress background tones.
- Reflections and specular highlights
- For glossy, metallic, or wet surfaces, use large diffusers to create soft, continuous highlight transitions.
- Adjust light angle to avoid distracting hotspots and blown highlights.
- Polarizing filters can reduce certain reflections but may darken backgrounds and affect color.